If you’re looking for a fun and delicious way to use up leftover pumpkin pie, these No-Bake Pumpkin Pie Balls are just the treat you need! They transform that classic fall dessert into bite-sized delights that are perfect for snacking or sharing at family gatherings. Whether it’s a busy weeknight or a festive occasion, these little balls of joy bring comfort and sweetness in every bite.
What makes this recipe special is not just its ease of preparation but also the lovely nostalgia it brings. It’s a reminder of cozy gatherings and autumn flavors, all wrapped up in a simple no-bake treat. Plus, kids and adults alike will love them — who can resist a delightful sweet treat?
Why You’ll Love This Recipe
- Quick and Easy: You can whip these up in no time! The most time-consuming part is waiting for them to chill.
- Family-Friendly Fun: Kids can help roll the balls and sprinkle on toppings, making it a great family activity.
- Make-Ahead Convenience: Perfect for preparing in advance and having on hand for unexpected guests or sweet cravings.
- Deliciously Nostalgic: Enjoy the beloved flavors of pumpkin pie in a new, exciting form that everyone will adore!
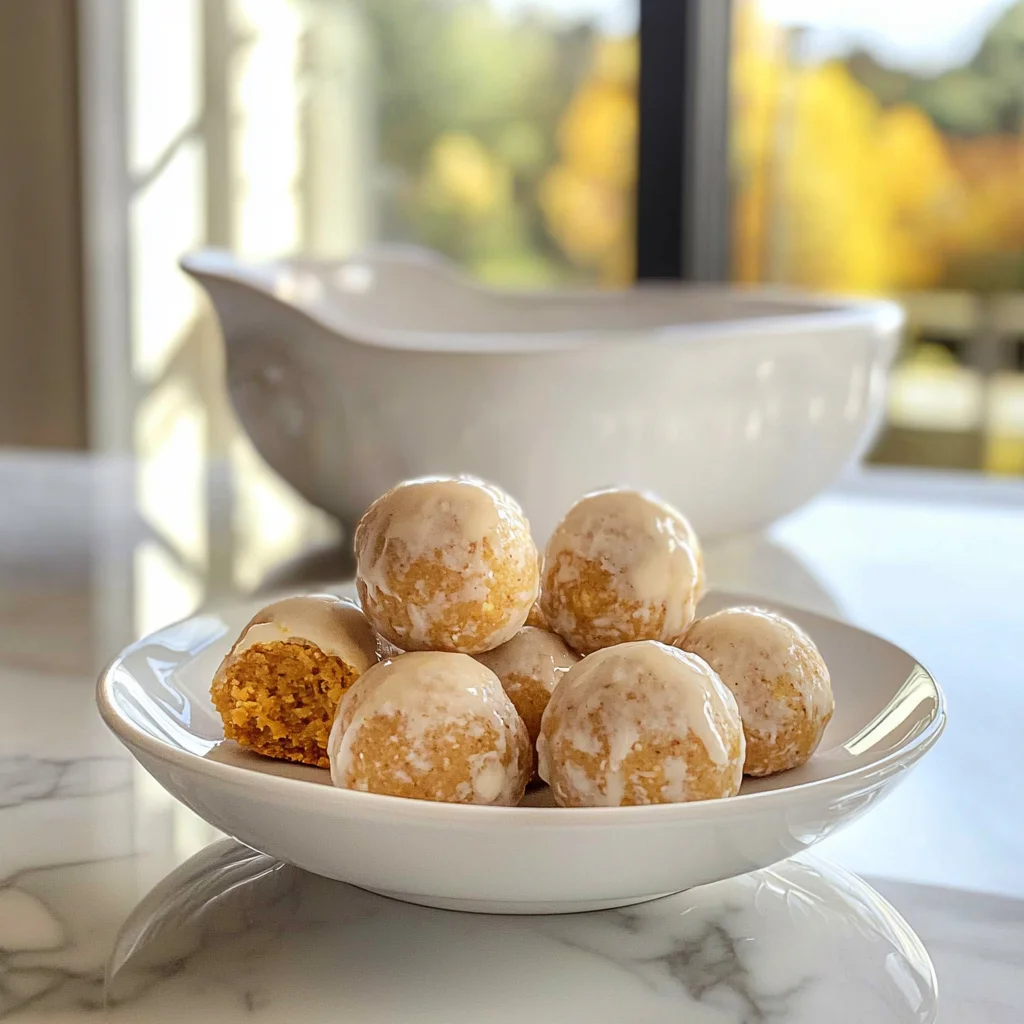
Ingredients You’ll Need
These No-Bake Pumpkin Pie Balls come together with just two simple ingredients that you probably already have on hand. They’re wholesome and easy to work with, ensuring you can make this delightful treat without any fuss!
- 1 (9-inch) baked and chilled pumpkin pie, store-bought is great!
- 1 (16 ounce) package vanilla candy coating or almond bark
Variations
This recipe is wonderfully flexible! Feel free to get creative with these variations to suit your taste preferences or dietary needs.
- Add some spice: Mix in a dash of cinnamon or nutmeg to enhance those classic pumpkin flavors!
- Go nutty: Roll the finished balls in crushed nuts like pecans or walnuts for an added crunch.
- Try different coatings: Swap out the vanilla candy coating for dark chocolate or white chocolate for a fun twist.
- Make it healthier: Use yogurt-based coating instead of candy coating for a lighter version!
How to Make No-Bake Pumpkin Pie Balls
Step 1: Prepare the Mixture
Start by reserving some of the pie crust crumbs that you’ll use later as topping. Next, break up your chilled pumpkin pie into pieces and place them into an electric mixer. Mixing until it all comes together creates that wonderful texture we want in our pie balls. If you prefer more hands-on experience, feel free to mix it all together using your hands in a large bowl!
Step 2: Shape the Balls
Now it’s time to roll those delightful pumpkin pie mixtures into balls! Taking about two tablespoons at a time, form them into small spheres and lay them out on a parchment-lined baking sheet. This step is crucial because chilling them ensures they hold their shape when coated.
Step 3: Chill Out
Place your rolled pie balls in the freezer for about 30 minutes (or refrigerate them for about 2 hours) until they’re firm. This will make dipping them in the candy coating much easier!
Step 4: Coat with Candy
Melt your vanilla candy coating according to package directions. Once melted, dip each ball into the coating one at a time, making sure they’re fully covered. Use a fork to help lift them out while allowing excess coating to drip back into the bowl. Immediately sprinkle with reserved pie crust crumbs before transferring them back onto your baking sheet.
Step 5: Set and Enjoy
Allow your coated No-Bake Pumpkin Pie Balls to rest until the candy coating has completely set. Once they’re ready, serve them up as an irresistible treat that’s sure to impress friends and family alike!
Pro Tips for Making No-Bake Pumpkin Pie Balls
Making No-Bake Pumpkin Pie Balls is a breeze, but a few handy tips can ensure your treats are absolutely perfect!
- Use chilled pie: Starting with a well-chilled pumpkin pie makes it easier to form the balls and helps them hold their shape during dipping.
- Experiment with coatings: While vanilla candy coating works beautifully, you might also try dark or white chocolate for a different flavor twist.
- Shape uniformly: Make sure your pie balls are uniform in size for even coating and a beautiful presentation; using a cookie scoop can help with this.
- Keep it cool: If you find the mixture getting too warm while rolling, pop it back in the fridge for a few minutes to make shaping easier.
- Store properly: Keep leftover pie balls in an airtight container in the refrigerator to maintain freshness and flavor.
How to Serve No-Bake Pumpkin Pie Balls
These delightful No-Bake Pumpkin Pie Balls are perfect for various occasions! Here are some fun ideas on how to present them.
Garnishes
- Cinnamon sprinkle: A light dusting of cinnamon adds warmth and enhances the pumpkin flavor.
- Chopped nuts: Finely chopped pecans or walnuts provide a nice crunch and complement the creamy filling.
Side Dishes
- Apple slices: Fresh, crisp apple slices add a refreshing contrast to the rich sweetness of the pie balls.
- Caramel dip: A small bowl of caramel dip can be a delicious accompaniment for those who enjoy extra sweetness.
- Whipped coconut cream: This dairy-free option is light and fluffy, making it a great pairing to balance the richness of the pumpkin.
- Spiced chai tea: Serve these treats alongside warm spiced chai tea for a cozy, comforting experience that highlights seasonal flavors.
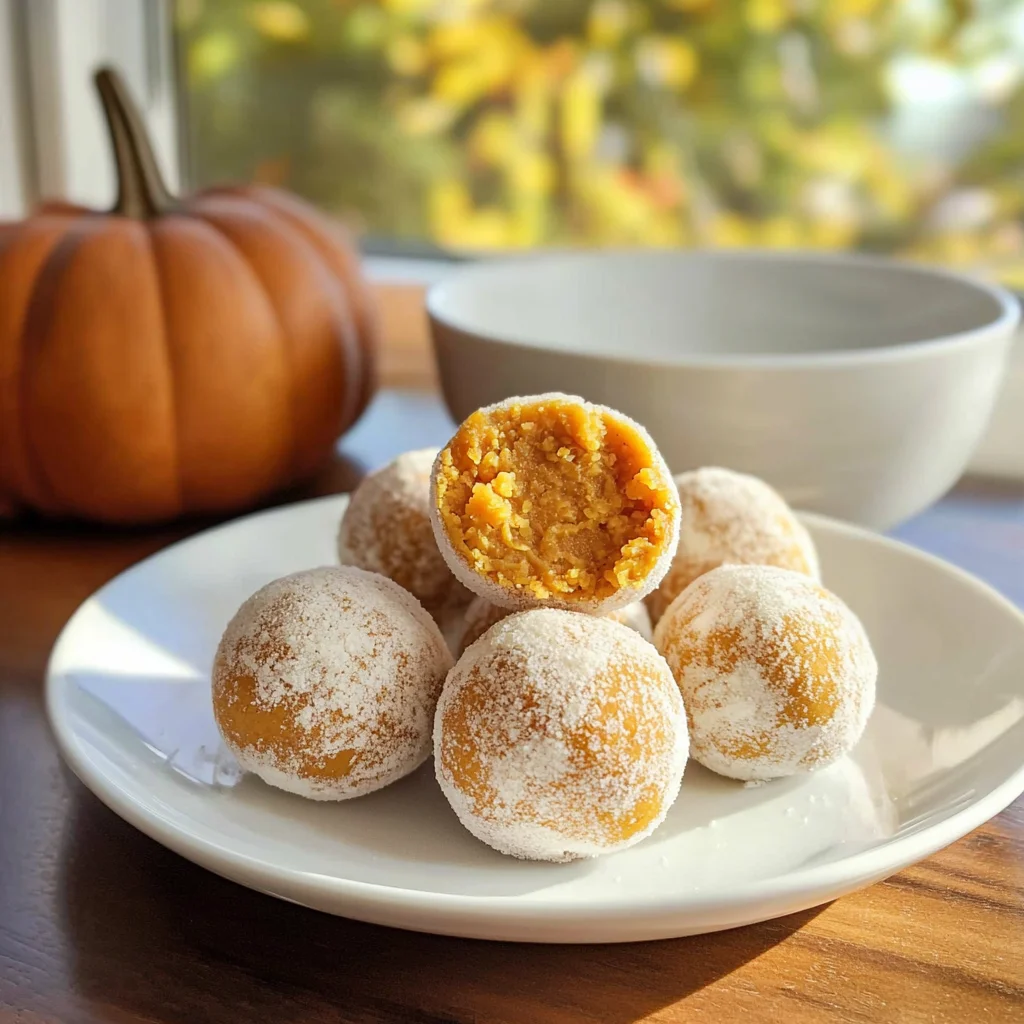
Make Ahead and Storage
These No-Bake Pumpkin Pie Balls are perfect for meal prep, making them a convenient treat to have on hand. You can easily prepare them in advance and store them for later enjoyment.
Storing Leftovers
- Store the No-Bake Pumpkin Pie Balls in an airtight container.
- Keep them refrigerated for up to 1 week.
- Ensure they are separated by parchment paper to prevent sticking.
Freezing
- Place the pie balls on a baking sheet and freeze until solid.
- Transfer the frozen balls to a freezer-safe bag or container.
- They can be kept in the freezer for up to 3 months.
Reheating
- These treats are best enjoyed cold, so no reheating is necessary.
- If desired, let them sit at room temperature for a few minutes before serving.
FAQs
Can I use leftover pumpkin pie to make No-Bake Pumpkin Pie Balls?
Absolutely! This recipe is ideal for using up leftover pumpkin pie, turning it into delicious bite-sized treats.
How long do No-Bake Pumpkin Pie Balls last?
When stored properly in the refrigerator, No-Bake Pumpkin Pie Balls can last up to one week. For longer storage, consider freezing them.
Can I customize the flavor of my No-Bake Pumpkin Pie Balls?
Yes! Feel free to add different spices or mix-ins like chocolate chips or nuts to personalize your No-Bake Pumpkin Pie Balls.
Are No-Bake Pumpkin Pie Balls gluten-free?
If you use a gluten-free pumpkin pie and ensure that your candy coating is also gluten-free, then yes, these treats can be made gluten-free!
Final Thoughts
I hope you enjoy making these delightful No-Bake Pumpkin Pie Balls as much as I do! They’re not only a fantastic way to repurpose leftover pie but also a sweet treat that everyone will love. I can’t wait for you to try this recipe—it’s sure to bring smiles all around!
No-Bake Pumpkin Pie Balls
Transform your leftover pumpkin pie into delightful No-Bake Pumpkin Pie Balls that are perfect for snacking or sharing at gatherings. These bite-sized treats encapsulate the comforting flavors of fall, making them a nostalgic addition to any dessert table. Not only are they quick and easy to prepare, but they also allow for family involvement—kids can help roll and decorate! With just a few ingredients, you’ll have a delicious treat that everyone will love.
- Prep Time: 15 minutes
- Cook Time: 0 minutes
- Total Time: 15 minutes
- Yield: Approximately 12 servings 1x
- Category: Dessert
- Method: No-Bake
- Cuisine: American
Ingredients
- 1 (9-inch) baked and chilled pumpkin pie (store-bought or homemade)
- 1 (16 ounce) package vanilla candy coating or almond bark
Instructions
- Prepare the Mixture: Reserve some pie crust crumbs for later. Crumble the chilled pumpkin pie into an electric mixer or large bowl. Mix until smooth.
- Shape the Balls: Scoop about two tablespoons of the mixture and roll into small balls. Place them on a parchment-lined baking sheet.
- Chill: Freeze the rolled balls for 30 minutes or refrigerate for 2 hours until firm.
- Coat: Melt the vanilla candy coating as per package instructions. Dip each ball, ensuring full coverage, then sprinkle with reserved pie crust crumbs.
- Set and Enjoy: Allow the coated balls to set completely before serving.
Nutrition
- Serving Size: 1 ball (30g)
- Calories: 150
- Sugar: 12g
- Sodium: 20mg
- Fat: 7g
- Saturated Fat: 4g
- Unsaturated Fat: 3g
- Trans Fat: 0g
- Carbohydrates: 19g
- Fiber: 1g
- Protein: 1g
- Cholesterol: 0mg
Leave a Comment