If you’re looking for a dessert that’s both easy to make and utterly delightful, you’ve found it! This No-Bake Peanut Butter Pie is a creamy dream come true. Each bite is filled with rich peanut butter goodness, and the graham cracker crust adds just the right crunch. It’s perfect for those busy weeknights when you want something special without spending hours in the kitchen, or for family gatherings where everyone will be asking for seconds.
What makes this pie even more special is how versatile it can be. Whether it’s a birthday celebration, a summer picnic, or even just a sweet treat to enjoy at home, this pie fits the bill perfectly. Plus, it’s a fantastic way to treat your loved ones to something homemade without all the fuss.
Why You’ll Love This Recipe
- Quick and Easy: With just 20 minutes of prep time, you can whip up this delicious pie without any stress.
- Family-Friendly: Kids and adults alike can’t resist the creamy peanut butter flavor—it’s always a hit!
- Make-Ahead Magic: Prepare it in advance and let it chill; it’s ready when you are!
- Decadent Flavor: The combination of peanut butter and whipped cream creates a rich, satisfying dessert that everyone loves.
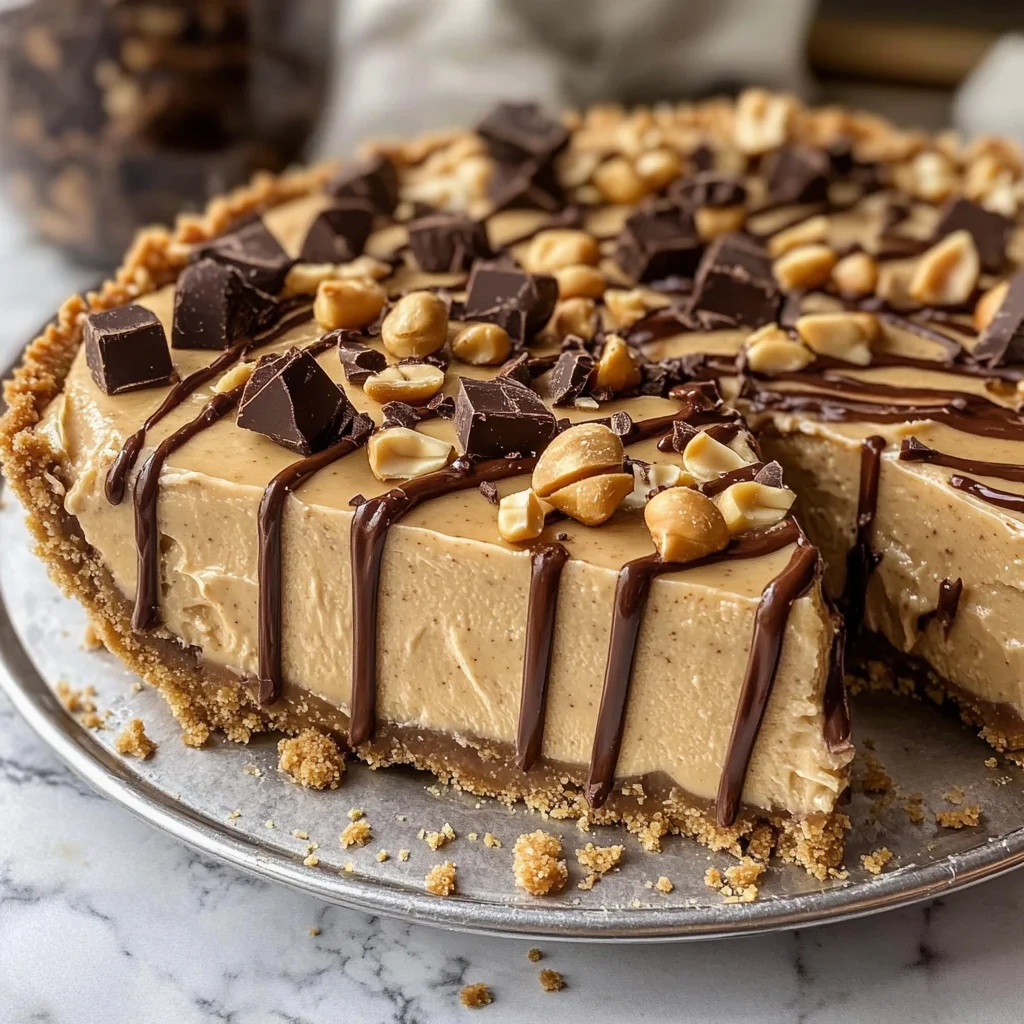
- Customizable Toppings: Dress it up with chocolate shavings or chopped peanuts for an extra special touch!
Ingredients You’ll Need
Making this No-Bake Peanut Butter Pie is a breeze with these simple and wholesome ingredients. You probably already have many of them in your kitchen!
For the Crust
- 1 ½ cups graham cracker crumbs
- ¼ cup granulated sugar
- 6 tbsp unsalted butter (melted)
For the Filling
- 8 oz package cream cheese (softened)
- 1 cup peanut butter (creamy)
- ¼ teaspoon salt
- 1 cup powdered sugar
- 1 tsp vanilla extract
For Topping
- 1 ½ cups heavy whipping cream (or 1 tub of whipped topping)
- Melted chocolate or chocolate shavings
- Chopped peanuts
- Chopped up mini peanut butter cups
Variations
This recipe is wonderfully flexible! Feel free to get creative with these fun variations:
- Add Chocolate: Swirl in some melted chocolate into the filling for an extra layer of flavor.
- Go Nutty: Mix in crushed nuts like almonds or pecans for added texture.
- Make It Vegan: Substitute cream cheese with dairy-free cream cheese and use coconut whipped cream instead.
- Change Up the Crust: Try using Oreo crumbs or cookie crumbs instead of graham crackers for a different base.
How to Make No-Bake Peanut Butter Pie
Step 1: Prepare the Crust
Start by mixing your graham cracker crumbs and sugar in a bowl. Pour in the melted butter and stir until everything is well combined. This mixture forms the base of our pie. Press it firmly into a pie dish to create an even crust—this step ensures that every slice holds together beautifully.
Step 2: Make the Filling
In another bowl, beat together the softened cream cheese and peanut butter until smooth. This part is crucial because it creates that creamy texture we love so much! Gradually add in salt, powdered sugar, and vanilla extract while continuing to mix until everything is well blended.
Step 3: Fold in Whipped Cream
In a separate bowl, whip your heavy cream until stiff peaks form. Gently fold this into your peanut butter mixture. This step adds lightness to your filling, making it airy and delightful. Be careful not to overmix; we want all that lovely volume to stay intact!
Step 4: Assemble the Pie
Spoon your filling into the prepared crust, smoothing it out evenly. It’s okay if there are some peaks; they will look lovely once chilled! Cover with plastic wrap and place it in the fridge for at least four hours—or overnight if you can wait! Chilling allows all those flavors to meld beautifully.
Step 5: Top It Off
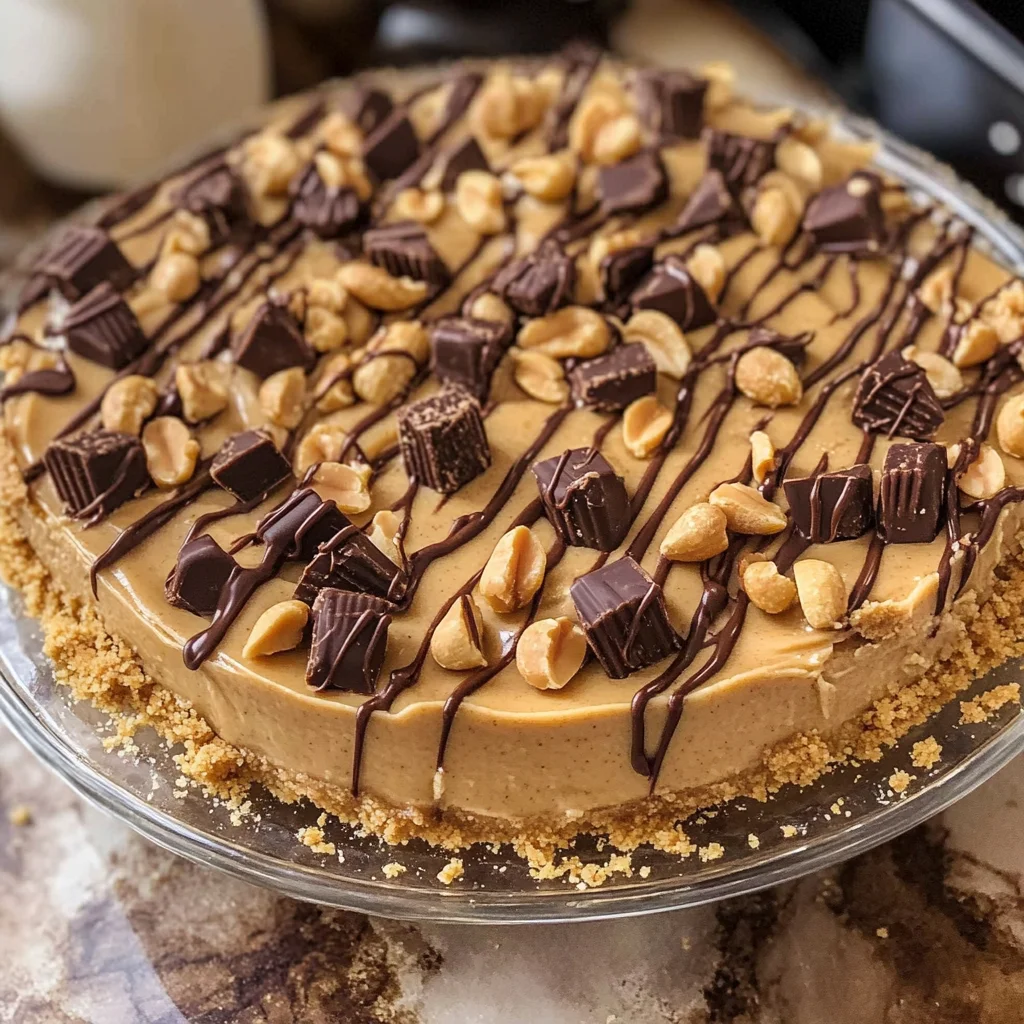
Once set, remove your pie from the fridge and get creative with toppings! Drizzle melted chocolate over the top or sprinkle with chopped peanuts or mini peanut butter cups for an irresistible finish.
And there you have it—a stunning No-Bake Peanut Butter Pie that will impress anyone who gets a slice! Enjoy every creamy bite!
Pro Tips for Making No-Bake Peanut Butter Pie
Creating the perfect no-bake peanut butter pie is easy, especially when you have a few handy tips up your sleeve!
-
Use room temperature cream cheese: This ensures a smooth and creamy filling. Cold cream cheese can result in lumps, which is not what we want for our silky pie!
-
Chill your mixing bowl: Before whipping the cream, chill your mixing bowl for about 10 minutes. This helps the cream whip faster and achieve a nice, fluffy texture.
-
Don’t skip the salt: A pinch of salt in your filling enhances the flavor of the peanut butter. It balances sweetness and makes each bite absolutely delicious!
-
Be patient with setting time: Allowing the pie to set for at least 4 hours (or overnight) in the fridge is crucial. This helps it firm up properly so you can slice it beautifully.
-
Experiment with toppings: Feel free to get creative! Adding different toppings like crushed cookies or fresh fruit can give a unique twist to your pie each time you make it.
How to Serve No-Bake Peanut Butter Pie
When it’s time to present this delightful dessert, consider how you can enhance its appearance and flavor. Here are some fun ideas to get you started!
Garnishes
- Chocolate drizzle: A quick drizzle of melted chocolate on top adds an elegant touch and complements the peanut butter flavor beautifully.
- Whipped topping: A dollop of whipped topping on each slice not only looks inviting but also adds extra creaminess.
Side Dishes
- Fresh fruit salad: A light fruit salad made with seasonal fruits offers a refreshing contrast to the richness of the pie.
- Vanilla ice cream: Serve alongside a scoop of vanilla ice cream for an indulgent treat that balances out flavors perfectly.
- Coffee or tea: A warm cup of coffee or herbal tea provides a comforting pairing that rounds out this dessert experience nicely.
With these tips and serving ideas, your no-bake peanut butter pie will not only taste amazing but also impress everyone at your gathering! Enjoy your delicious creation!
Make Ahead and Storage
This No-Bake Peanut Butter Pie is perfect for meal prep! You can easily whip it up in advance and keep it ready for a gathering or a sweet treat throughout the week.
Storing Leftovers
- Store any leftovers in an airtight container in the refrigerator.
- It’s best enjoyed within 3-4 days for optimal freshness.
- If using whipped topping, cover it well to avoid drying out.
Freezing
- To freeze, wrap the pie tightly in plastic wrap and then place it in a freezer-safe container.
- It can be frozen for up to 2 months.
- For best results, let it thaw in the refrigerator overnight before serving.
Reheating
- There’s no need to reheat this pie — it’s delicious served cold!
- If you prefer a warmer dessert, consider microwaving individual slices for about 10-15 seconds.
FAQs
Have questions? You’re not alone! Here are some common inquiries about making this delightful pie.
Can I make No-Bake Peanut Butter Pie without cream cheese?
Yes! You can substitute the cream cheese with a non-dairy alternative or use additional whipped topping for a lighter texture.
How do I ensure my No-Bake Peanut Butter Pie sets properly?
Make sure to whip the heavy cream until stiff peaks form before folding it into the peanut butter mixture. This helps create a fluffy texture that sets beautifully.
Can I add toppings to my No-Bake Peanut Butter Pie?
Absolutely! Feel free to get creative with toppings like melted chocolate, chopped peanuts, or mini peanut butter cups for added flavor and crunch!
How long does No-Bake Peanut Butter Pie last in the fridge?
This delicious pie will stay fresh in your refrigerator for about 3-4 days when stored properly in an airtight container.
Final Thoughts
I hope you enjoy making this No-Bake Peanut Butter Pie as much as I do! It’s such a special treat that combines creamy peanut butter with a crunchy crust, and it’s perfect for sharing with friends and family. Whether it’s for a special occasion or just because you deserve something sweet, this recipe is sure to delight. Happy baking!
No-Bake Peanut Butter Pie
Indulge in the creamy delight of this No-Bake Peanut Butter Pie, a dessert that blends rich peanut butter with a crunchy graham cracker crust. Perfect for busy weeknights or family gatherings, this pie comes together in just 20 minutes of prep time, making it an effortless yet impressive treat. With its luscious filling and versatile toppings, it’s sure to become a favorite for both kids and adults alike. Whether you’re celebrating a birthday or simply craving something sweet, this pie is your go-to option. Plus, it’s easy to customize with chocolate shavings or chopped peanuts for an extra touch of indulgence.
- Prep Time: 20 minutes
- Cook Time: None
- Total Time: 0 hours
- Yield: Serves 8
- Category: Dessert
- Method: No-Bake
- Cuisine: American
Ingredients
- 1 ½ cups graham cracker crumbs
- ¼ cup granulated sugar
- 6 tbsp unsalted butter (melted)
- 8 oz cream cheese (softened)
- 1 cup peanut butter (creamy)
- ¼ teaspoon salt
- 1 cup powdered sugar
- 1 tsp vanilla extract
- 1 ½ cups heavy whipping cream
Instructions
- Prepare the crust by mixing graham cracker crumbs and sugar in a bowl. Stir in melted butter and press into a pie dish to form an even base.
- In another bowl, beat softened cream cheese and peanut butter until smooth. Add salt, powdered sugar, and vanilla extract; mix until well blended.
- Whip heavy cream until stiff peaks form, then gently fold into the peanut butter mixture.
- Spoon the filling into the prepared crust and smooth out evenly. Cover with plastic wrap and refrigerate for at least four hours or overnight.
- Once set, add desired toppings like melted chocolate, chopped peanuts, or mini peanut butter cups before serving.
Nutrition
- Serving Size: 1 slice (approximately 120g)
- Calories: 370
- Sugar: 22g
- Sodium: 210mg
- Fat: 27g
- Saturated Fat: 14g
- Unsaturated Fat: 11g
- Trans Fat: 0g
- Carbohydrates: 29g
- Fiber: 2g
- Protein: 6g
- Cholesterol: 40mg



Leave a Comment