If you’re looking for the ultimate comfort food that reminds you of cozy family dinners or lazy weekends, then this Mac and Cheese recipe is just what you need. It’s creamy, cheesy, and oh-so-satisfying! This dish has been a beloved favorite in my home for years, bringing smiles to faces young and old. Whether it’s a busy weeknight or a special family gathering, this Mac and Cheese never fails to deliver that warm, nostalgic feeling with every delicious bite.
What makes it even better? You can whip this up in no time! With simple ingredients and straightforward steps, you’ll have a hearty meal ready to enjoy without any fuss. Let’s dive into why you’ll love making this comforting dish!
Why You’ll Love This Recipe
- Quick and Easy: With just a handful of ingredients and about 40 minutes, you can create a delicious meal that everyone will rave about.
- Family-Friendly Appeal: Kids adore Mac and Cheese! It’s the perfect dish to satisfy picky eaters while still being loved by adults.
- Make-Ahead Convenience: Prepare it in advance and simply bake when you’re ready to serve—ideal for busy schedules!
- Customizable Flavor: The basic recipe is delicious on its own, but it’s also a canvas for your creativity. Add your favorite toppings or mix-ins!
- Creamy Comfort: The rich blend of cheese and pasta creates an indulgent experience that warms the heart.
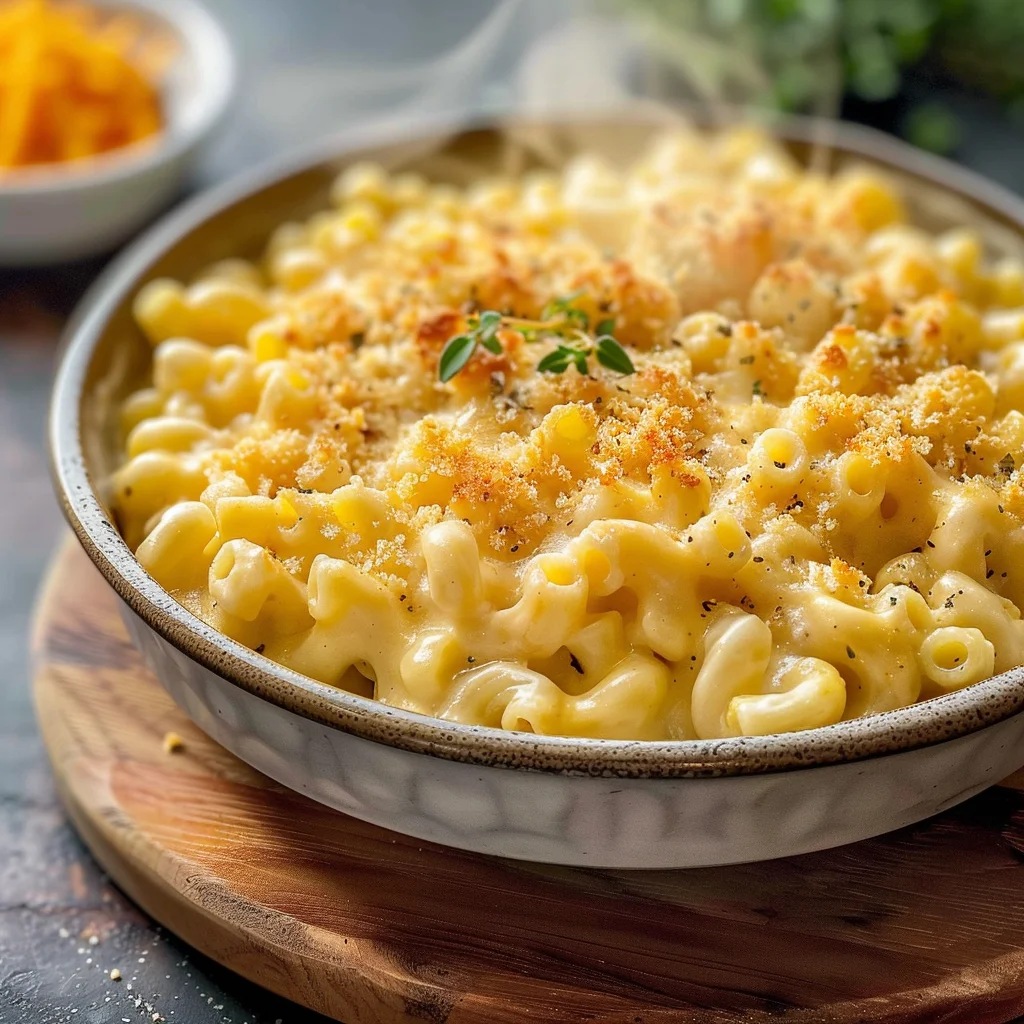
Ingredients You’ll Need
Gathering wholesome ingredients is half the fun! Here’s what you’ll need for this delightful Mac and Cheese recipe. Each ingredient plays a vital role in creating that creamy texture and satisfying flavor we all crave.
- 8 oz elbow macaroni
- 2 cups sharp cheddar cheese, shredded
- 2 cups whole milk
- 4 tbsp unsalted butter
- 2 tbsp all-purpose flour
- 1 cup panko bread crumbs
Variations
This Mac and Cheese recipe is wonderfully adaptable! Feel free to switch things up according to your tastes or dietary preferences. Here are some fun variation ideas:
- Add Veggies: Mix in steamed broccoli or spinach for added nutrition and color.
- Spice it Up: Incorporate jalapeños or hot honey for a spicy kick that takes the classic flavor to new heights.
- Go High-Protein: Substitute regular pasta with chickpea or lentil pasta for an extra boost of protein.
- Cheesy Fusion: Experiment with different cheeses like Gouda or Monterey Jack for unique flavors!
How to Make Mac and Cheese
Step 1: Cook the Pasta
Begin by bringing a large pot of salted water to a boil. Once boiling, add in the elbow macaroni and cook until al dente—about 7-8 minutes should do it! Drain the pasta well and set it aside. Cooking it just right ensures that it holds its shape when mixed with the cheese sauce.
Step 2: Make the Roux
In a medium saucepan over medium heat, melt the unsalted butter. Once bubbly, whisk in the all-purpose flour, stirring until smooth. This roux is essential as it thickens your cheese sauce beautifully—just let it cook for about one minute to eliminate any raw flour taste.
Step 3: Add Milk
Gradually pour in whole milk, whisking constantly until the mixture thickens slightly—a few minutes should suffice. This step is crucial as it creates that rich base for your creamy sauce!
Step 4: Add Cheese
Remove the saucepan from heat and stir in the shredded sharp cheddar cheese. Keep stirring until it’s completely melted and smooth. The combination of warm roux and cheese creates an indulgently creamy texture that’s hard to resist.
Step 5: Combine Pasta and Sauce
Now it’s time to bring everything together! Gently fold in your cooked macaroni into the luscious cheese sauce until every piece is well-coated. This ensures every bite is filled with cheesy goodness.
Step 6: Bake
Transfer your cheesy mixture into a greased baking dish. Top generously with panko bread crumbs, then pop it into a preheated oven at 350°F (175°C) for about 20-25 minutes, or until golden brown on top. Baking adds that delightful crunch which perfectly contrasts with the creamy inside.
Enjoy every bite of your homemade Mac and Cheese—it’s sure to become a cherished recipe in your home too!
Pro Tips for Making Mac and Cheese
To elevate your Mac and Cheese game, keep these handy tips in mind!
-
Use Freshly Grated Cheese: Opting for freshly grated cheese instead of pre-packaged can enhance the creaminess and flavor of the dish, as it melts better and avoids the added starches that can make it grainy.
-
Don’t Overcook the Pasta: Cooking the macaroni until just al dente ensures it maintains its texture when mixed with the cheese sauce and baked, preventing a mushy final product.
-
Add a Dash of Mustard Powder: Incorporating a small amount of mustard powder adds depth to the cheese flavor without overpowering it, making your dish more complex and delicious.
-
Experiment with Cheeses: Mixing different cheeses like mozzarella or Gouda with cheddar can create a unique flavor profile that keeps everyone guessing and coming back for more.
-
Broil for Extra Crunch: For an even crispier topping, finish your baked Mac and Cheese under the broiler for a few minutes until golden brown. Just keep an eye on it to avoid burning!
How to Serve Mac and Cheese
Serving Mac and Cheese is all about presentation and pairing it with complementary flavors. Here are some ideas to make your dish shine!
Garnishes
- Chopped Fresh Herbs: Sprinkle some fresh parsley or chives on top to add a pop of color and freshness.
- Crushed Red Pepper Flakes: A light dusting of red pepper flakes will give your Mac and Cheese a subtle kick, perfect for those who enjoy a little heat.
Side Dishes
- Garlic Bread: Crispy garlic bread is a classic side that complements the creamy richness of Mac and Cheese, providing a satisfying crunch.
- Steamed Broccoli: Adding steamed broccoli not only provides nutrition but also adds a beautiful contrast in color and texture to your meal.
- Caesar Salad: A refreshing Caesar salad balances the heaviness of Mac and Cheese with its crisp romaine lettuce, tangy dressing, and crunchy croutons.
- Roasted Vegetables: Seasonal roasted vegetables bring in earthy flavors while adding vibrant colors to your plate, making every bite delightful!
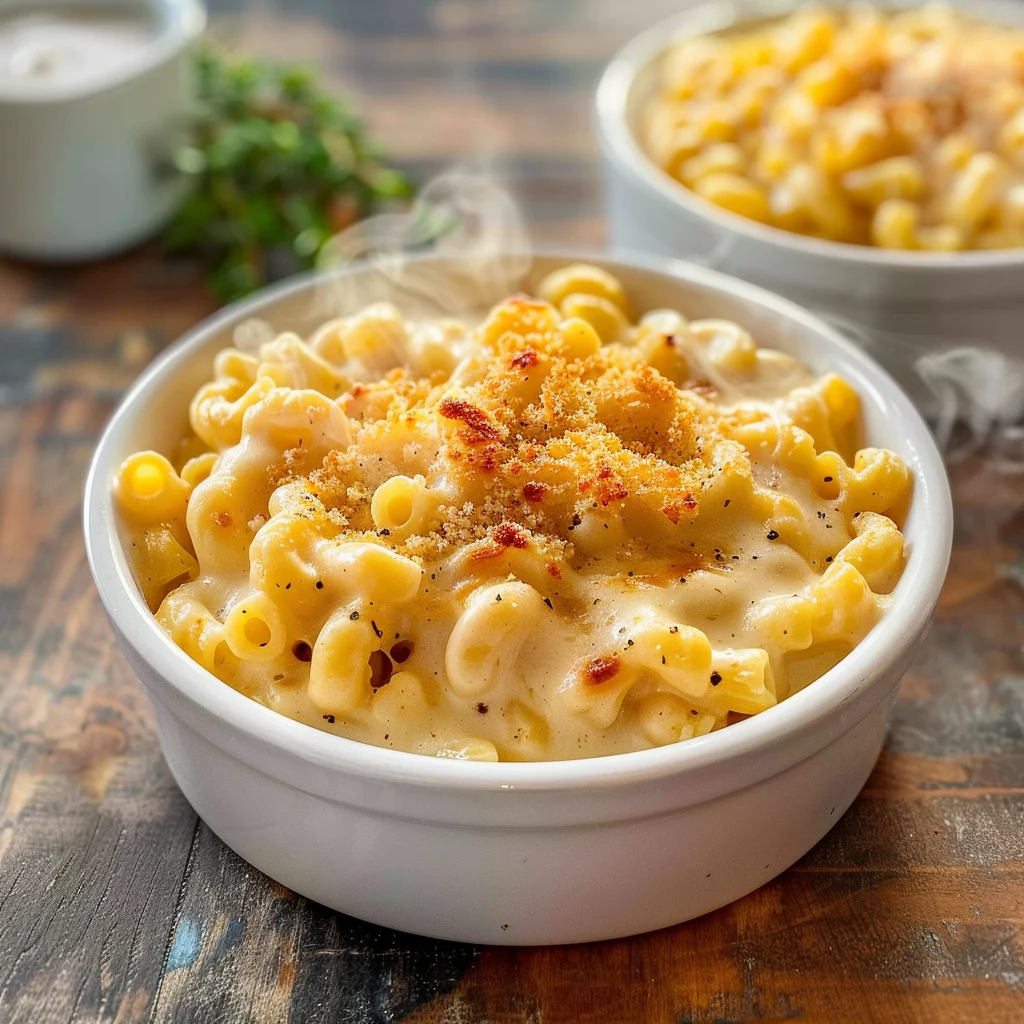
Make Ahead and Storage
This Mac and Cheese recipe is perfect for meal prep, allowing you to enjoy a comforting dish throughout the week with minimal effort.
Storing Leftovers
- Store any leftover Mac and Cheese in an airtight container in the refrigerator.
- It will keep well for up to 3-5 days.
- Allow it to cool completely before sealing to avoid moisture buildup.
Freezing
- To freeze, portion the Mac and Cheese into freezer-safe containers or bags.
- It can be frozen for up to 2-3 months.
- Thaw overnight in the refrigerator before reheating.
Reheating
- Reheat leftovers in the microwave or on the stovetop over low heat, adding a splash of milk to restore creaminess.
- If baking from frozen, preheat the oven to 350°F (175°C) and cover with foil. Bake for about 30-40 minutes or until heated through.
FAQs
Here are some frequently asked questions about this classic dish!
Can I make Mac and Cheese ahead of time?
Absolutely! You can prepare Mac and Cheese earlier in the day or even a couple of days in advance. Just store it in the fridge until you’re ready to bake.
How do I make my Mac and Cheese creamier?
For extra creaminess, use freshly grated cheese instead of pre-shredded varieties, and consider stirring in a bit of cream or sour cream during preparation.
Can I add vegetables to my Mac and Cheese?
Yes! Feel free to add steamed broccoli, spinach, or peas for a nutritious boost while still enjoying that cheesy goodness.
What type of cheese is best for Mac and Cheese?
While sharp cheddar is traditional, you can experiment with other cheeses like Gruyère, Monterey Jack, or even a blend for unique flavors.
How long does homemade Mac and Cheese last?
Homemade Mac and Cheese lasts about 3-5 days in the refrigerator when stored properly, making it great for meal prep!
Final Thoughts
This Mac and Cheese recipe is truly special because it brings together simplicity and comfort in one dish. I hope you enjoy making it as much as I do, whether it’s for a family gathering or just a cozy night in. Don’t hesitate to get creative with your ingredients! Happy cooking!
Mac and Cheese

Indulge in the ultimate comfort food with this creamy Mac and Cheese recipe that’s sure to delight both young and old. Perfect for busy weeknights or special family gatherings, this dish is rich, cheesy, and incredibly satisfying. With just a handful of simple ingredients and straightforward steps, you can whip up a delicious meal that evokes the warmth of home-cooked goodness in under an hour. Customize it with your favorite toppings or mix-ins for a unique twist each time. Let’s dive into making this classic favorite!
- Prep Time: 10 minutes
- Cook Time: 30 minutes
- Total Time: 40 minutes
- Yield: Serves 6
- Category: Main
- Method: Baking
- Cuisine: American
Ingredients
- 8 oz elbow macaroni
- 2 cups sharp cheddar cheese, shredded
- 2 cups whole milk
- 4 tbsp unsalted butter
- 2 tbsp all-purpose flour
- 1 cup panko bread crumbs
Instructions
- Cook elbow macaroni in boiling salted water until al dente (7-8 minutes). Drain and set aside.
- In a medium saucepan over medium heat, melt unsalted butter and whisk in all-purpose flour for one minute.
- Gradually add whole milk while whisking until slightly thickened.
- Stir in shredded cheddar cheese until melted and smooth.
- Combine cooked macaroni with cheese sauce until well-coated.
- Transfer to a greased baking dish, top with panko bread crumbs, and bake at 350°F (175°C) for 20-25 minutes until golden brown.
Nutrition
- Serving Size: 1 cup (approximately 200g)
- Calories: 420
- Sugar: 5g
- Sodium: 550mg
- Fat: 22g
- Saturated Fat: 13g
- Unsaturated Fat: 7g
- Trans Fat: 0g
- Carbohydrates: 41g
- Fiber: 2g
- Protein: 15g
- Cholesterol: 60mg


Leave a Comment