If you’re looking for a cozy dessert that feels like a warm hug, then this Pumpkin Crisp in a 10-Inch Cast Iron Skillet is just what you need. This recipe is a delightful mash-up of creamy pumpkin pie filling topped with a crunchy, golden crisp. It’s easy to whip up and perfect for busy weeknights or family gatherings. Whether it’s fall or any time of the year, this pumpkin crisp will surely become your go-to dessert!
I love how this dish not only tastes amazing but also fills the kitchen with that comforting aroma we all adore. Plus, it’s a hit among both kids and adults, making it an ideal treat for any occasion!
Why You’ll Love This Recipe
- Simple Preparation: This recipe comes together quickly and doesn’t require fancy techniques or hard-to-find ingredients.
- Family-Friendly Appeal: Everyone loves the combination of creamy pumpkin and crunchy topping, making it perfect for gatherings.
- Make-Ahead Convenience: You can prepare this dish in advance, allowing you to enjoy more time with your loved ones.
- Delicious Flavor: The warm spices and creamy pumpkin create a cozy flavor profile that’s simply irresistible.
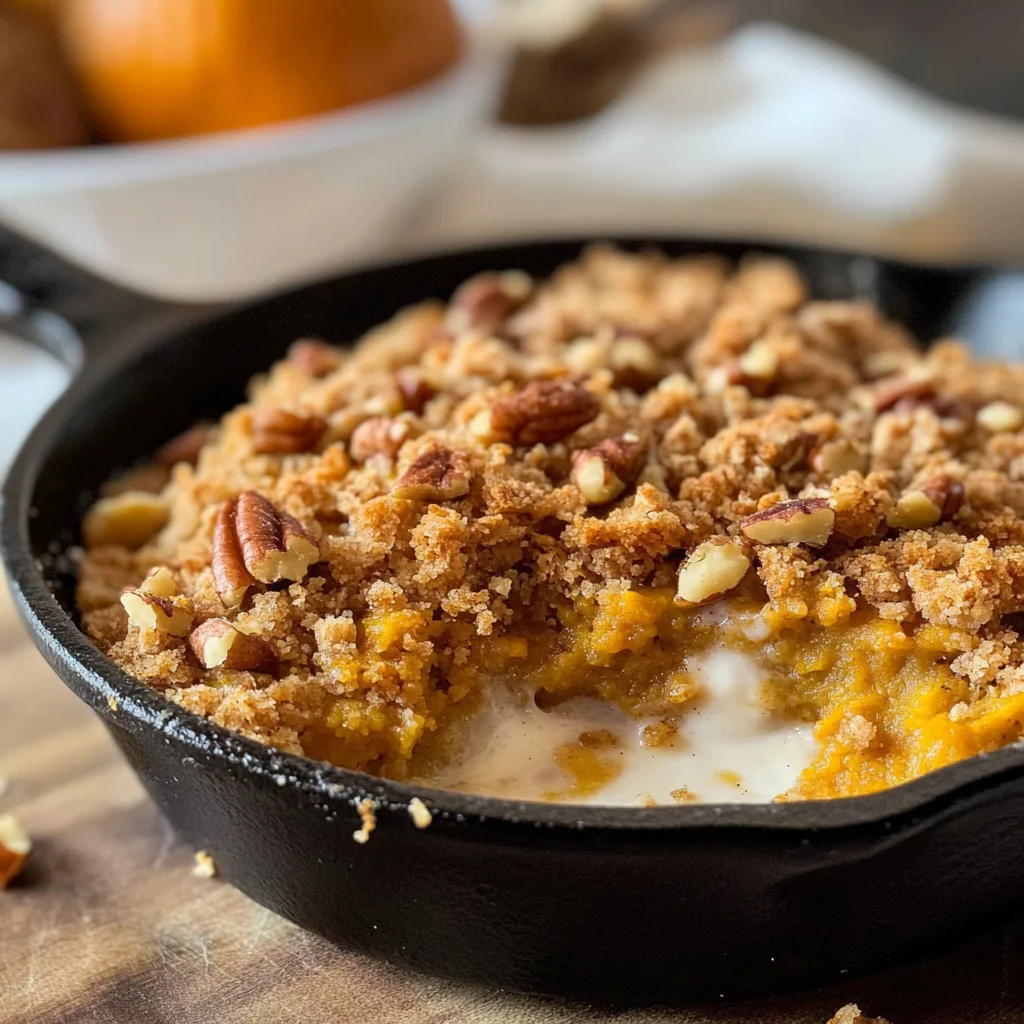
Ingredients You’ll Need
You’ll be thrilled to know that the ingredients for this Pumpkin Crisp are simple and wholesome. Let’s gather everything you need to create this delightful dessert!
For the Pumpkin Filling
- 1 can 15 oz pumpkin puree
- 1/4 cup granulated sugar
- 1/2 cup packed brown sugar
- 1 teaspoon ground cinnamon
- 1/2 teaspoon ground ginger
- 1/4 teaspoon ground nutmeg
- 1/4 teaspoon ground cloves
- 1/4 teaspoon salt
- 3 large eggs (at room temperature)
- 3/4 cup heavy cream (at room temperature)
For the Crunchy Topping
- 1 cup old-fashioned oats
- 2/3 cup all-purpose flour
- 2/3 cup packed brown sugar
- 1 teaspoon ground cinnamon
- 1/4 teaspoon salt
- 2/3 cup chopped pecans or walnuts
- 1/2 cup cold unsalted butter (cubed)
Variations
One of the best things about this Pumpkin Crisp is its flexibility! Here are some fun variations you can try:
- Add Some Fruit: Toss in some sliced apples or pears for added sweetness and texture.
- Make it Gluten-Free: Use gluten-free oats and flour to make this dessert suitable for those with gluten sensitivities.
- Spice It Up: Experiment with other spices like cardamom or allspice for a unique twist on flavor.
- Nut-Free Option: Omit the nuts if you’re looking for a nut-free version, or replace them with seeds like pumpkin seeds.
How to Make Pumpkin Crisp in a 10-Inch Cast Iron Skillet
Step 1: Preheat Your Oven
First things first, preheat your oven to 350°F (175°C). Preheating ensures that your pumpkin crisp cooks evenly and helps achieve that perfectly golden topping.
Step 2: Prepare the Crunchy Topping
In a separate bowl, mix together the oats, flour, brown sugar, cinnamon, and salt. Stir in the chopped nuts until well combined. Adding nuts gives the topping an extra crunch that contrasts beautifully with the creamy filling.
Step 3: Mix in Cold Butter
Now it’s time to add those cold butter pieces! Use your fingers or a pastry cutter to mix until the mixture resembles coarse crumbs. This step is crucial as it creates that delightful crumble topping we all love. Once mixed, place it in the fridge while you make the filling.
Step 4: Combine the Pumpkin Ingredients
In a large mixing bowl, combine pumpkin puree, granulated sugar, brown sugar, cinnamon, ginger, nutmeg, salt, eggs, and heavy cream. Mix until smooth and well combined. A well-mixed filling means every bite will be deliciously flavorful!
Step 5: Assemble Your Crisp
Pour the pumpkin filling into your prepped 10-inch cast iron skillet. Then evenly sprinkle your crisp topping over the filling. This layering creates that irresistible combination of textures.
Step 6: Bake It Up
Bake in your preheated oven for about 45 minutes or until the filling is set and the topping is golden brown and crisp. Baking allows all those wonderful flavors to meld together beautifully.
Step 7: Let It Cool
Allow your pumpkin crisp to cool slightly before serving. It can be enjoyed warm or at room temperature—both options are delicious!
I hope you enjoy making this Pumpkin Crisp in a 10-Inch Cast Iron Skillet as much as I do! It’s sure to bring smiles around your table!
Pro Tips for Making Pumpkin Crisp in a 10-Inch Cast Iron Skillet
Making the perfect Pumpkin Crisp is a delightful journey, and these tips will ensure your dish turns out beautifully every time!
-
Use room temperature ingredients: Bringing eggs and cream to room temperature helps them combine more smoothly, creating a creamier filling without lumps.
-
Chill the topping mixture: Keeping the butter cold while preparing the topping ensures it bakes up to a deliciously crisp texture, adding that crunchy contrast to the creamy pumpkin filling.
-
Check for doneness with a toothpick: To avoid overbaking, gently insert a toothpick into the center of the pumpkin filling. If it comes out clean or with just a few moist crumbs, your crisp is ready!
-
Let it cool before serving: Allowing your Pumpkin Crisp to cool slightly after baking helps it set up, making it easier to slice and serve while still retaining its luscious texture.
-
Experiment with spices: Feel free to adjust spices according to your taste! Adding a hint of cardamom or allspice can give your Pumpkin Crisp a unique twist that will impress your guests.
How to Serve Pumpkin Crisp in a 10-Inch Cast Iron Skillet
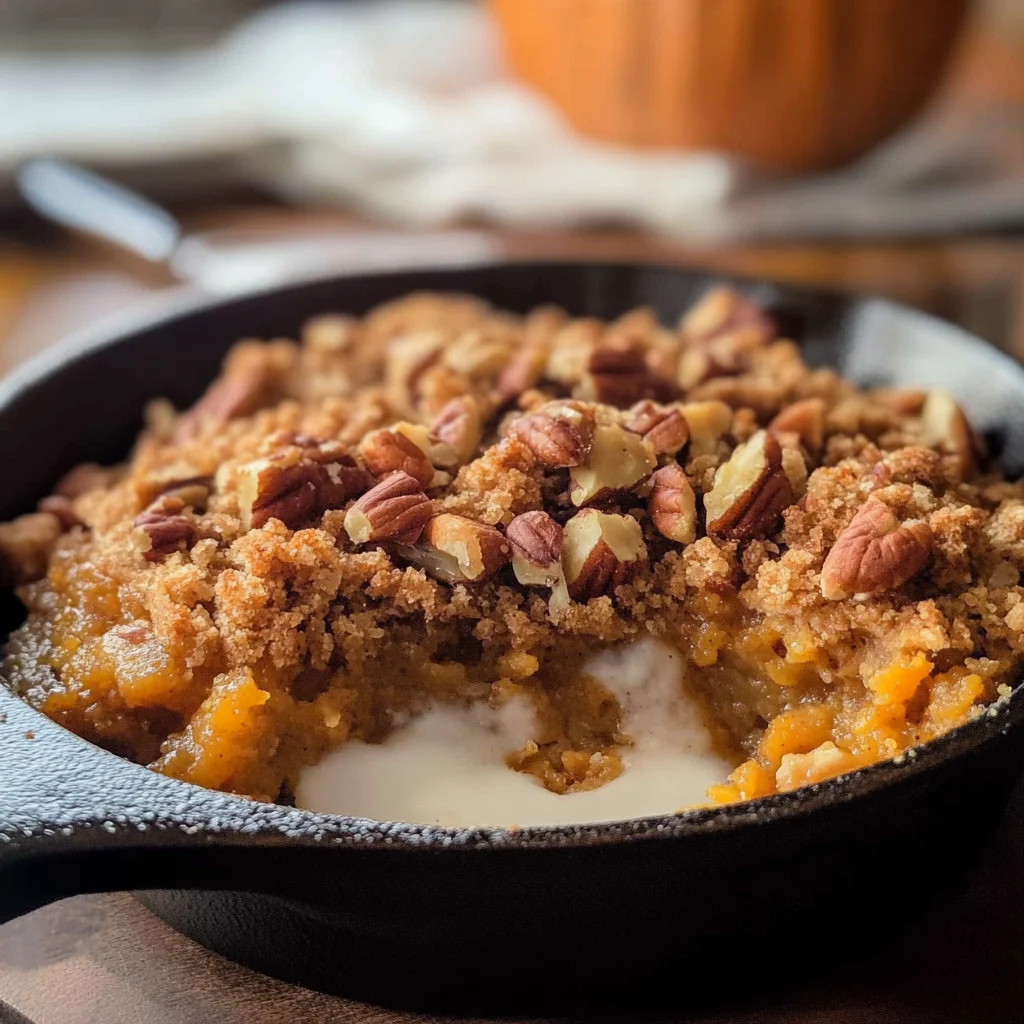
This Pumpkin Crisp is not only delicious but also visually appealing when served right. Here are some fun ideas on how to present this autumnal delight to your friends and family!
Garnishes
- Whipped coconut cream: A dollop of lightly sweetened whipped coconut cream adds a rich and creamy touch that complements the pumpkin flavor beautifully.
- Chopped nuts: Sprinkling additional chopped pecans or walnuts over the top gives an extra crunch and highlights the nutty notes in the dish.
Side Dishes
- Vanilla ice cream: The classic pairing! A scoop of vanilla ice cream melts beautifully into warm pumpkin crisp, creating a delightful contrast of temperatures and flavors.
- Caramel sauce: Drizzling homemade or store-bought caramel sauce over each serving elevates this dessert to new heights with its sweet richness.
- Spiced chai tea: A warm cup of spiced chai tea enhances the cozy flavors of pumpkin and spices in the crisp while providing a comforting beverage option.
- Fresh apple slices: Lightly sweetened, crispy apple slices bring freshness and balance to the richness of the pumpkin crisp, making for a lovely side accompaniment.
Enjoy your warm Pumpkin Crisp in a 10-Inch Cast Iron Skillet with these simple yet effective presentation ideas! Your dessert table is bound to impress everyone.
Make Ahead and Storage
This Pumpkin Crisp in a 10-Inch Cast Iron Skillet is perfect for meal prep, allowing you to enjoy a delicious dessert anytime without the hassle of making it from scratch each time.
Storing Leftovers
- Allow the pumpkin crisp to cool completely before storing.
- Cover it tightly with plastic wrap or aluminum foil.
- Store in the refrigerator for up to 3 days.
Freezing
- Let the pumpkin crisp cool completely.
- Cut into individual portions for easier thawing.
- Wrap each portion in plastic wrap, then place them in an airtight container or freezer bag.
- Freeze for up to 3 months.
Reheating
- Thaw frozen portions in the refrigerator overnight before reheating.
- Preheat your oven to 350°F (175°C).
- Place the pumpkin crisp in an oven-safe dish and cover with foil.
- Heat for about 15-20 minutes, or until warmed through.
FAQs
If you have questions about making this delightful Pumpkin Crisp, you’re in the right place!
Can I make this Pumpkin Crisp in a 10-Inch Cast Iron Skillet dairy-free?
Yes! You can substitute heavy cream with coconut cream or any non-dairy milk of choice to keep it creamy while avoiding dairy.
How long does Pumpkin Crisp in a 10-Inch Cast Iron Skillet last?
When stored properly in the fridge, this delicious dessert will last up to 3 days. For longer storage, consider freezing it!
Can I use fresh pumpkin instead of canned puree?
Absolutely! Just make sure to cook down and puree your fresh pumpkin until smooth before using it in this recipe.
What should I serve with Pumpkin Crisp?
A scoop of vanilla ice cream or a dollop of whipped topping pairs beautifully with this crisp, enhancing its warm flavors.
Final Thoughts
I hope you find joy in creating this Pumpkin Crisp in a 10-Inch Cast Iron Skillet! It’s not just about enjoying a sweet treat; it’s about bringing warmth and comfort to your kitchen. Whether you’re gathering with family or treating yourself, this recipe is sure to become a cherished favorite. Happy baking!
Pumpkin Crisp in a 10-Inch Cast Iron Skillet
Indulge in the warmth and comfort of a Pumpkin Crisp in a 10-Inch Cast Iron Skillet, perfect for any occasion. This delightful dessert features a luscious pumpkin filling harmoniously topped with a crunchy oat crisp, creating a delightful contrast in textures. The warm spices and creamy pumpkin blend beautifully to fill your home with an inviting aroma, making it an ideal treat for family gatherings or cozy nights at home. Easy to prepare, this recipe is as enjoyable to make as it is to savor. Treat yourself and your loved ones to this deliciously wholesome dessert that will surely become a favorite!
- Prep Time: 15 minutes
- Cook Time: 45 minutes
- Total Time: 1 hour
- Yield: Serves approximately 8 people 1x
- Category: Dessert
- Method: Baking
- Cuisine: American
Ingredients
- 1 can (15 oz) pumpkin puree
- 1/4 cup granulated sugar
- 1/2 cup packed brown sugar
- 3 large eggs
- 3/4 cup heavy cream
- 1 cup old-fashioned oats
- 2/3 cup all-purpose flour
- 1/2 cup cold unsalted butter
Instructions
- Preheat oven to 350°F (175°C).
- In a bowl, combine oats, flour, brown sugar, cinnamon, and salt. Stir in chopped nuts.
- Mix cold butter into the oat mixture until it resembles coarse crumbs; refrigerate.
- In another bowl, mix pumpkin puree, sugars, spices, eggs, and cream until smooth.
- Pour pumpkin filling into the cast iron skillet and top with the oat mixture.
- Bake for about 45 minutes or until set and golden brown.
- Allow to cool slightly before serving.
Nutrition
- Serving Size: 1 slice (150g)
- Calories: 320
- Sugar: 22g
- Sodium: 180mg
- Fat: 15g
- Saturated Fat: 9g
- Unsaturated Fat: 5g
- Trans Fat: 0g
- Carbohydrates: 43g
- Fiber: 3g
- Protein: 5g
- Cholesterol: 95mg

Leave a Comment