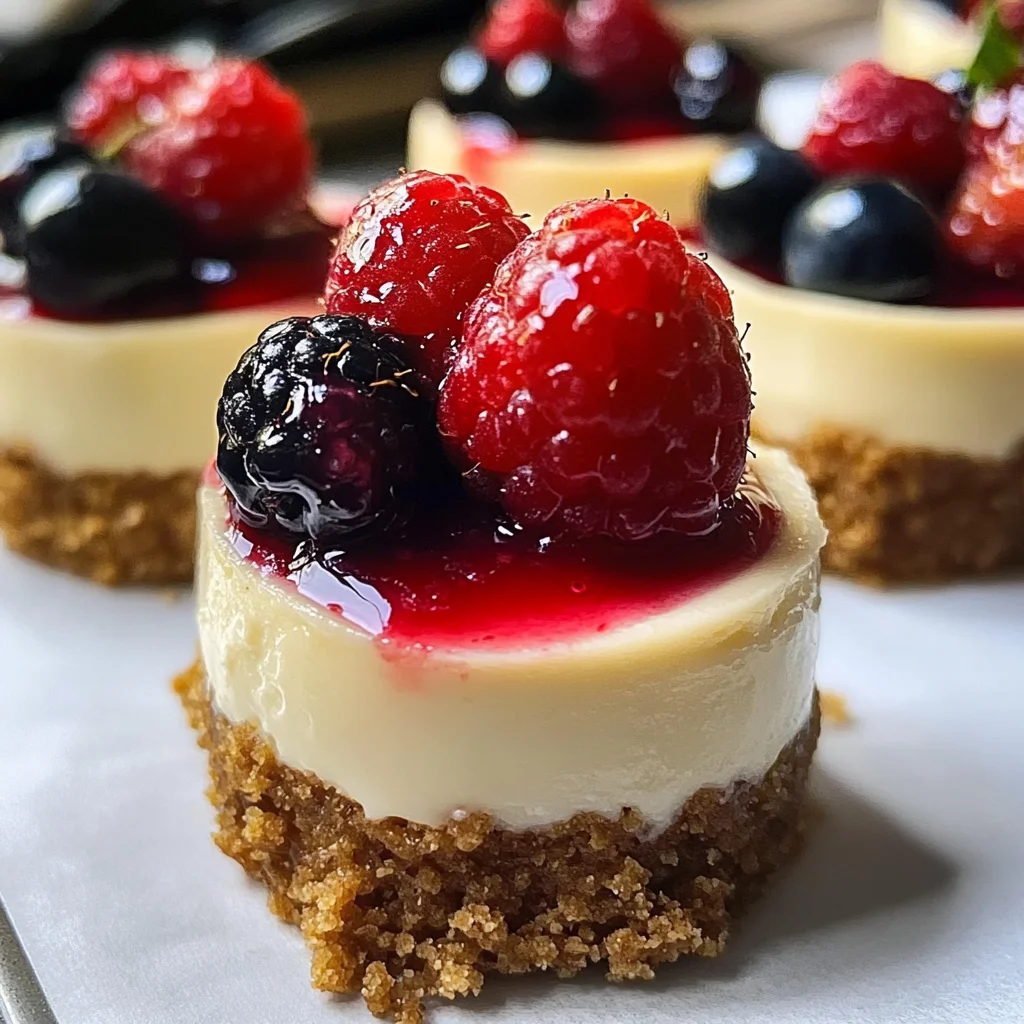
If you’re looking for a dessert that’s sure to impress, these Mini Cheesecakes are a delightful choice! Perfectly portioned and oh-so-creamy, they bring joy to every bite. I love how easy they are to whip up, making them ideal for everything from busy weeknights to family gatherings. Plus, with fresh berries on top, they look as beautiful as they taste!
What makes this recipe truly special is its versatility. You can customize the toppings or even the crust to suit your taste or dietary needs. Whether it’s Valentine’s Day or just a regular Tuesday, these mini treats will always brighten your day.
Why You’ll Love This Recipe
- Easy to Prepare: With just a few simple steps, you’ll have these delicious mini cheesecakes ready in no time.
- Family-Friendly Appeal: Everyone loves cheesecake! These individual servings make it easy for kids and adults alike to enjoy.
- Make-Ahead Convenience: Bake them in advance and store them in the fridge—perfect for unexpected guests or last-minute celebrations.
- Delicious Flavor: The combination of cream cheese and fresh berries creates a rich flavor profile that’s hard to resist.
Ingredients You’ll Need
These Mini Cheesecakes come together with simple, wholesome ingredients that you may already have on hand. Let’s gather what we need for these delightful treats!
For the Crust
- 1 cup graham cracker crumbs (Forms the base; crushed nuts create a gluten-free crust.)
- 1/4 cup melted butter (Holds the crust together; coconut oil is a good dairy-free alternative.)
For the Filling
- 8 oz cream cheese (The heart of the cheesecake; use low-fat for a lighter version.)
- 1/2 cup sugar (Sweetens the mix nicely; coconut sugar is a great alternative for a deeper flavor.)
- 1 tsp vanilla extract (Boosts flavor; use almond extract for a twist.)
- 1/2 cup sour cream (Adds creaminess; Greek yogurt can provide a similar richness with less fat.)
- 1/4 cup all-purpose flour (Acts as a thickener; gluten-free flour works as a substitute.)
- 2 large eggs (Binds the mixture; aquafaba can be a vegan option.)
For the Topping
- Fresh berries to taste (Adds color and flavor; any seasonal fruit showcases your creativity.)
Variations
This Mini Cheesecake recipe is wonderfully flexible! Feel free to experiment with different flavors and toppings to make it your own.
- Change the Crust: Swap out graham crackers for crushed cookies like Oreos or gingersnaps for an exciting twist.
- Add Zest: Incorporate lemon or lime zest into the filling for an extra burst of freshness.
- Try Different Berries: Use strawberries, blueberries, or raspberries depending on what’s in season or what you have at home.
- Make it Chocolatey: Add cocoa powder to the filling for chocolate mini cheesecakes that are simply irresistible.
How to Make Mini Cheesecakes
Step 1: Prepare the Crust
Start by preheating your oven to 325°F (160°C). In a bowl, mix together graham cracker crumbs and melted butter until well combined. This mixture forms the base of our mini cheesecakes. Press it firmly into the bottom of muffin tins lined with paper liners. This step is crucial because it creates a sturdy foundation for your creamy filling.
Step 2: Make the Filling
In another bowl, beat together cream cheese and sugar until smooth. Adding vanilla extract here enhances the overall flavor of your cheesecakes. Next, mix in sour cream and flour until well incorporated. Finally, add eggs one at a time while mixing gently. This ensures that each egg is fully integrated without overmixing—keeping your filling light and fluffy!
Step 3: Bake & Cool
Pour the filling over each crust in your muffin tin, filling them about three-quarters full. Bake in your preheated oven for around 20-25 minutes until set but still slightly jiggly in the center. After removing them from the oven, allow them to cool at room temperature before refrigerating them for at least two hours. Cooling helps set their structure and lets all those lovely flavors meld together perfectly.
Step 4: Top with Fresh Berries
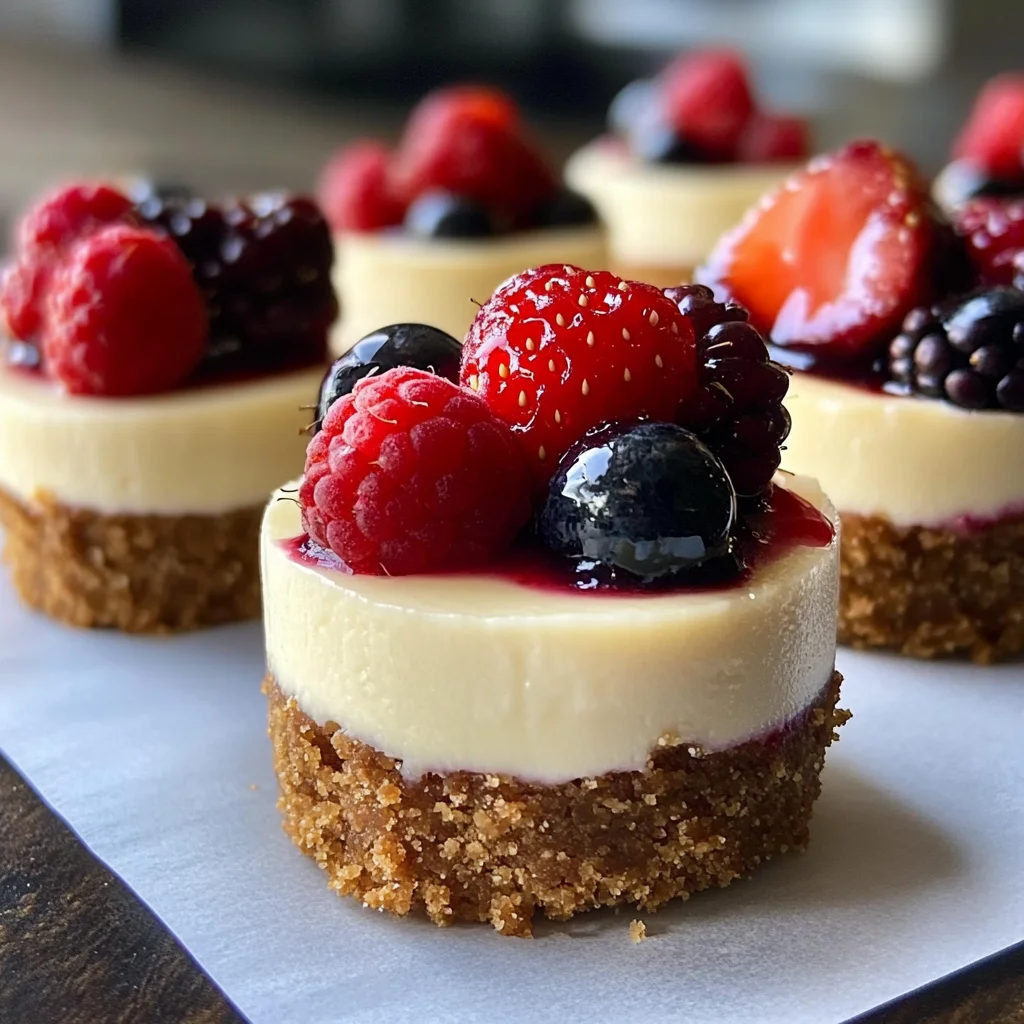
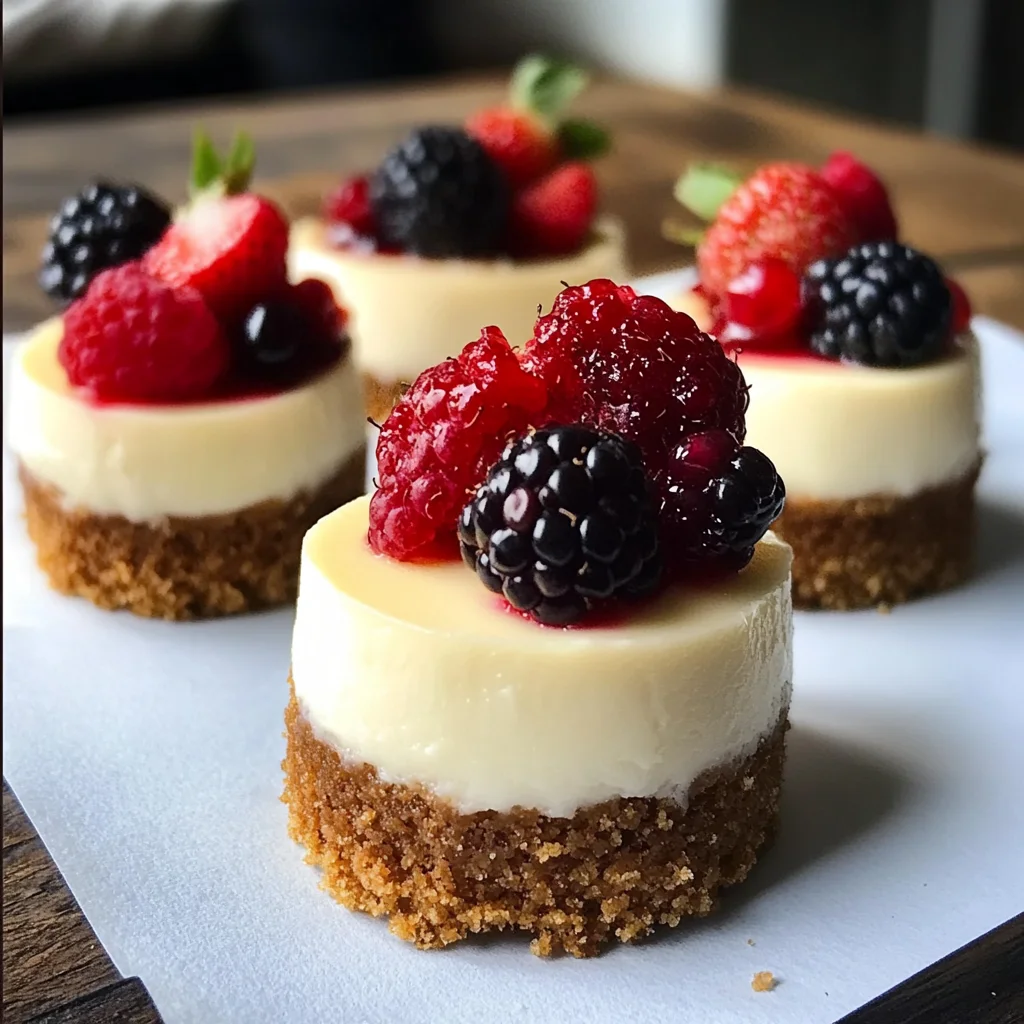
Once chilled, remove your mini cheesecakes from their liners and place them on serving plates. Top each one generously with fresh berries of your choice—this not only adds flavor but also makes them look gorgeous!
Enjoy every bite of these delightful Mini Cheesecakes! They are sure to become a favorite in your home just like they have in mine!
Pro Tips for Making Mini Cheesecakes
Creating the perfect mini cheesecakes is all about attention to detail and a sprinkle of love! Here are some tips to ensure your mini treats come out delicious every time.
-
Use Room Temperature Ingredients: Starting with room temperature cream cheese and eggs helps achieve a smooth batter that bakes evenly, preventing lumps in your cheesecakes.
-
Don’t Overmix the Batter: Mixing just until combined prevents incorporating too much air, which can cause cracks in your cheesecakes as they bake.
-
Bake in a Water Bath: Placing your muffin tin into a larger pan filled with water creates steam in the oven, helping to keep the mini cheesecakes moist and reducing the chances of cracking.
-
Cool Slowly: Allowing your mini cheesecakes to cool gradually in the oven (with the door slightly ajar) helps prevent sudden temperature changes that can lead to cracks.
-
Chill Before Serving: Letting the cheesecakes chill in the fridge for at least 4 hours enhances their flavor and texture, ensuring a delightful creamy bite!
How to Serve Mini Cheesecakes
Presenting your mini cheesecakes beautifully can turn a simple dessert into a showstopper! Here are some fun ideas for serving them that will impress your guests.
Garnishes
- Whipped Coconut Cream: A dollop of whipped coconut cream adds a light and airy touch that complements the richness of the cheesecake.
- Chocolate Shavings: Sprinkling some dark chocolate shavings on top gives an elegant finish and introduces a delightful contrast in flavors.
- Fresh Mint Leaves: Adding a few mint leaves not only brightens up the look but also provides a refreshing burst of flavor with each bite.
Side Dishes
- Fruit Salad: A colorful fruit salad made with seasonal fruits like strawberries, blueberries, and kiwi complements the sweetness of mini cheesecakes while adding freshness.
- Coffee or Tea: Serving your cheesecakes alongside a warm cup of coffee or herbal tea enhances their richness and makes for a cozy dessert experience.
- Chocolate-Dipped Strawberries: These sweet treats are perfect for dipping into or alongside your mini cheesecakes, providing a decadent pairing.
- Ice Cream: A scoop of non-dairy vanilla ice cream adds an extra layer of indulgence and contrasts beautifully with the creamy texture of the cheesecake.
With these serving suggestions and pro tips, you’re ready to make your mini cheesecakes truly unforgettable! Enjoy sharing them with loved ones this Valentine’s Day or any occasion that calls for something sweet.
Make Ahead and Storage
These delightful mini cheesecakes are perfect for meal prep, allowing you to whip up a batch in advance and enjoy them throughout the week or share with friends. They store beautifully and can be made ahead of time for stress-free entertaining.
Storing Leftovers
- Store the mini cheesecakes in an airtight container in the refrigerator.
- They will keep well for up to 5 days.
- If possible, add fresh berries just before serving to maintain their freshness.
Freezing
- Allow the mini cheesecakes to cool completely before freezing.
- Wrap each cheesecake individually in plastic wrap, then place them in a freezer-safe container.
- They can be frozen for up to 2 months.
- Thaw in the refrigerator overnight when ready to enjoy.
Reheating
- Mini cheesecakes are best served cold; however, if you prefer them at room temperature, let them sit out for about 30 minutes before serving.
- Avoid reheating in the microwave as it may alter their texture.
FAQs
Here are some common questions you might have about making mini cheesecakes.
Can I make Mini Cheesecakes without eggs?
Absolutely! You can substitute eggs with aquafaba, which is the liquid from canned chickpeas. It acts as an excellent binding agent while keeping your dessert vegan-friendly.
How do I customize my Mini Cheesecakes?
You can easily customize your mini cheesecakes by adding different flavors or toppings. Consider using chocolate or caramel sauce, or mixing in lemon zest for a refreshing twist!
What’s the best way to serve Mini Cheesecakes?
Mini cheesecakes shine when topped with fresh berries or a drizzle of fruit compote. You can also garnish them with whipped cream or a sprinkle of cocoa powder for added flair.
Final Thoughts
I hope you find these mini cheesecakes as delightful and fun to make as I do! Their rich creaminess combined with vibrant berry toppings makes them an irresistible treat that’s perfect for any occasion. Enjoy whipping up this recipe—your loved ones will surely appreciate your efforts. Happy baking!
Desserts
nn
n
Why You’ll Love This Recipe
These Mini Cheesecakes are the perfect blend of creamy richness and delightful sweetness, making them an ideal dessert for any occasion, especially Valentine’s Day! Their individual servings make them easy to share, and the fresh berry toppings add a burst of flavor and color that will impress your guests. Plus, they’re simple to make, so you won’t spend hours in the kitchen!
Ingredients You’ll Need
-
1 cup graham cracker crumbs
(Forms the base; crushed nuts create a gluten-free crust.) -
1/4 cup melted butter
(Holds the crust together; coconut oil is a good dairy-free alternative.) -
8 oz cream cheese
(The heart of the cheesecake; use low-fat for a lighter version.) -
1/2 cup sugar
(Sweetens the mix nicely; coconut sugar is a great alternative for a deeper flavor.) -
1 tsp vanilla extract
(Boosts flavor; use almond extract for a twist.) -
1/2 cup sour cream
(Adds creaminess; Greek yogurt can provide a similar richness with less fat.) -
1/4 cup all-purpose flour
(Acts as a thickener; gluten-free flour works as a substitute.) -
2 large eggs
(Binds the mixture; aquafaba can be a vegan option.) -
Fresh to taste berries
(Adds color and flavor; any seasonal fruit showcases your creativity.)
Variations
- Chocolate Mini Cheesecakes: Add 1/4 cup of cocoa powder to the batter for a chocolatey twist.
- Fruit Swirl: Swirl in some fruit puree (like raspberry or strawberry) before baking for a fruity flavor.
- Nut Crust: Replace graham cracker crumbs with crushed nuts for a gluten-free version.
- Mini Cheesecake Bites: Use a mini muffin tin for bite-sized treats perfect for parties.
How to Make
- Prepare the crust: In a bowl, mix graham cracker crumbs and melted butter until combined. Press the mixture into the bottom of a muffin tin lined with cupcake liners.
- Make the filling: In a large bowl, beat the cream cheese until smooth. Add sugar, vanilla extract, and sour cream, mixing until well combined. Gradually add flour and eggs, mixing just until incorporated.
- Fill the crusts: Pour the cheesecake mixture over the prepared crusts, filling each cup about 3/4 full.
- Bake: Preheat your oven to 325°F (160°C) and bake for 25 minutes, or until the centers are set but still slightly jiggly.
- Cool: Allow the cheesecakes to cool at room temperature, then refrigerate for at least 2 hours before serving.
- Top with berries: Just before serving, add fresh berries on top of each cheesecake.
Pro Tips
- Room Temperature Ingredients: Ensure your cream cheese and eggs are at room temperature to avoid lumps in your batter.
- Don’t Overmix: Mix the batter just until combined to keep your cheesecakes light and fluffy.
- Cooling: Allow them to cool gradually to prevent cracking on the surface.
How to Serve
Serve these delightful Mini Cheesecakes chilled with a sprinkle of powdered sugar or a dollop of whipped cream. They are perfect for sharing at gatherings or enjoying as a sweet treat after dinner. Pair with a cup of coffee or tea for an extra special touch!
Make Ahead and Storage
These Mini Cheesecakes can be made up to 2 days in advance. Store them in an airtight container in the refrigerator. They can also be frozen for up to 2 months. Just thaw them in the fridge overnight before serving.
FAQs
Can I make these Mini Cheesecakes without eggs?
Yes! You can substitute eggs with aquafaba (the liquid from canned chickpeas) to make them vegan.
How do I prevent the cheesecakes from cracking?
Bake them at a lower temperature and avoid overmixing the batter. Cooling them gradually will also help.
What can I use instead of cream cheese?
You can use vegan cream cheese or a blended tofu mixture for a dairy-free option.
Final Thoughts
These Mini Cheesecakes are sure to be a hit at your next gathering! Their creamy texture and delicious toppings create a delightful dessert that everyone will love. With easy variations and tips to customize, you can make these treats your own. Enjoy baking and sharing these little pieces of joy!
Mini Cheesecakes
Indulge in the delightful world of Mini Cheesecakes, where creamy texture meets vibrant berry toppings! These individual desserts are perfect for any occasion, from casual family dinners to festive celebrations. With their easy preparation and customizable options, you’ll be able to impress your guests without spending hours in the kitchen. Imagine little bites of creamy goodness topped with fresh berries, creating a perfect balance of sweetness and elegance. The best part? They can be made ahead of time, making them ideal for stress-free entertaining. Get ready to enjoy these charming treats that are as pleasing to the eye as they are to the palate!
- Prep Time: 15 minutes
- Cook Time: 25 minutes
- Total Time: 40 minutes
- Yield: Approximately 12 servings 1x
- Category: Dessert
- Method: Baking
- Cuisine: Dessert
Ingredients
- 1 cup graham cracker crumbs
- 1/4 cup melted butter (or coconut oil)
- 8 oz cream cheese (low-fat optional)
- 1/2 cup sugar (or coconut sugar)
- 1 tsp vanilla extract (or almond extract)
- 1/2 cup sour cream (or Greek yogurt)
- 1/4 cup all-purpose flour (gluten-free option available)
- 2 large eggs (or aquafaba)
- Fresh berries for topping
Instructions
- Preheat oven to 325°F (160°C).
- In a bowl, combine graham cracker crumbs and melted butter until well-mixed. Press firmly into the bottom of muffin tins lined with paper liners.
- In another bowl, beat cream cheese and sugar until smooth. Mix in vanilla extract, sour cream, and flour until combined. Add eggs one at a time, mixing gently.
- Pour filling over crusts, filling each about three-quarters full.
- Bake for 20-25 minutes until set but slightly jiggly in the center. Allow to cool at room temperature before refrigerating for at least two hours.
- Top with fresh berries before serving.
Nutrition
- Serving Size: 1 serving
- Calories: 175
- Sugar: 12g
- Sodium: 130mg
- Fat: 10g
- Saturated Fat: 5g
- Unsaturated Fat: 4g
- Trans Fat: 0g
- Carbohydrates: 18g
- Fiber: 0g
- Protein: 3g
- Cholesterol: 45mg
Leave a Comment